Visual Studio Template from Configured Static Library
Date Created: 05-07-2026
Overview
The purpose of this writeup is to document how I configure a Visual Studio Static Library project and generate a reusable template for future projects. This tutorial will cover creating a Static Library, adjusting default settings for better work flow, test building project, and finally exporting the skeleton project to a Visual Studio template for repeated use.
Please Note: I create all of my Visual Studio templates for C language development.
Table of Contents
- Create a New Static Library Project
- Adjust Default Settings
- Export as Visual Studio Template
- Download the exact template
Create a New Static Library Project
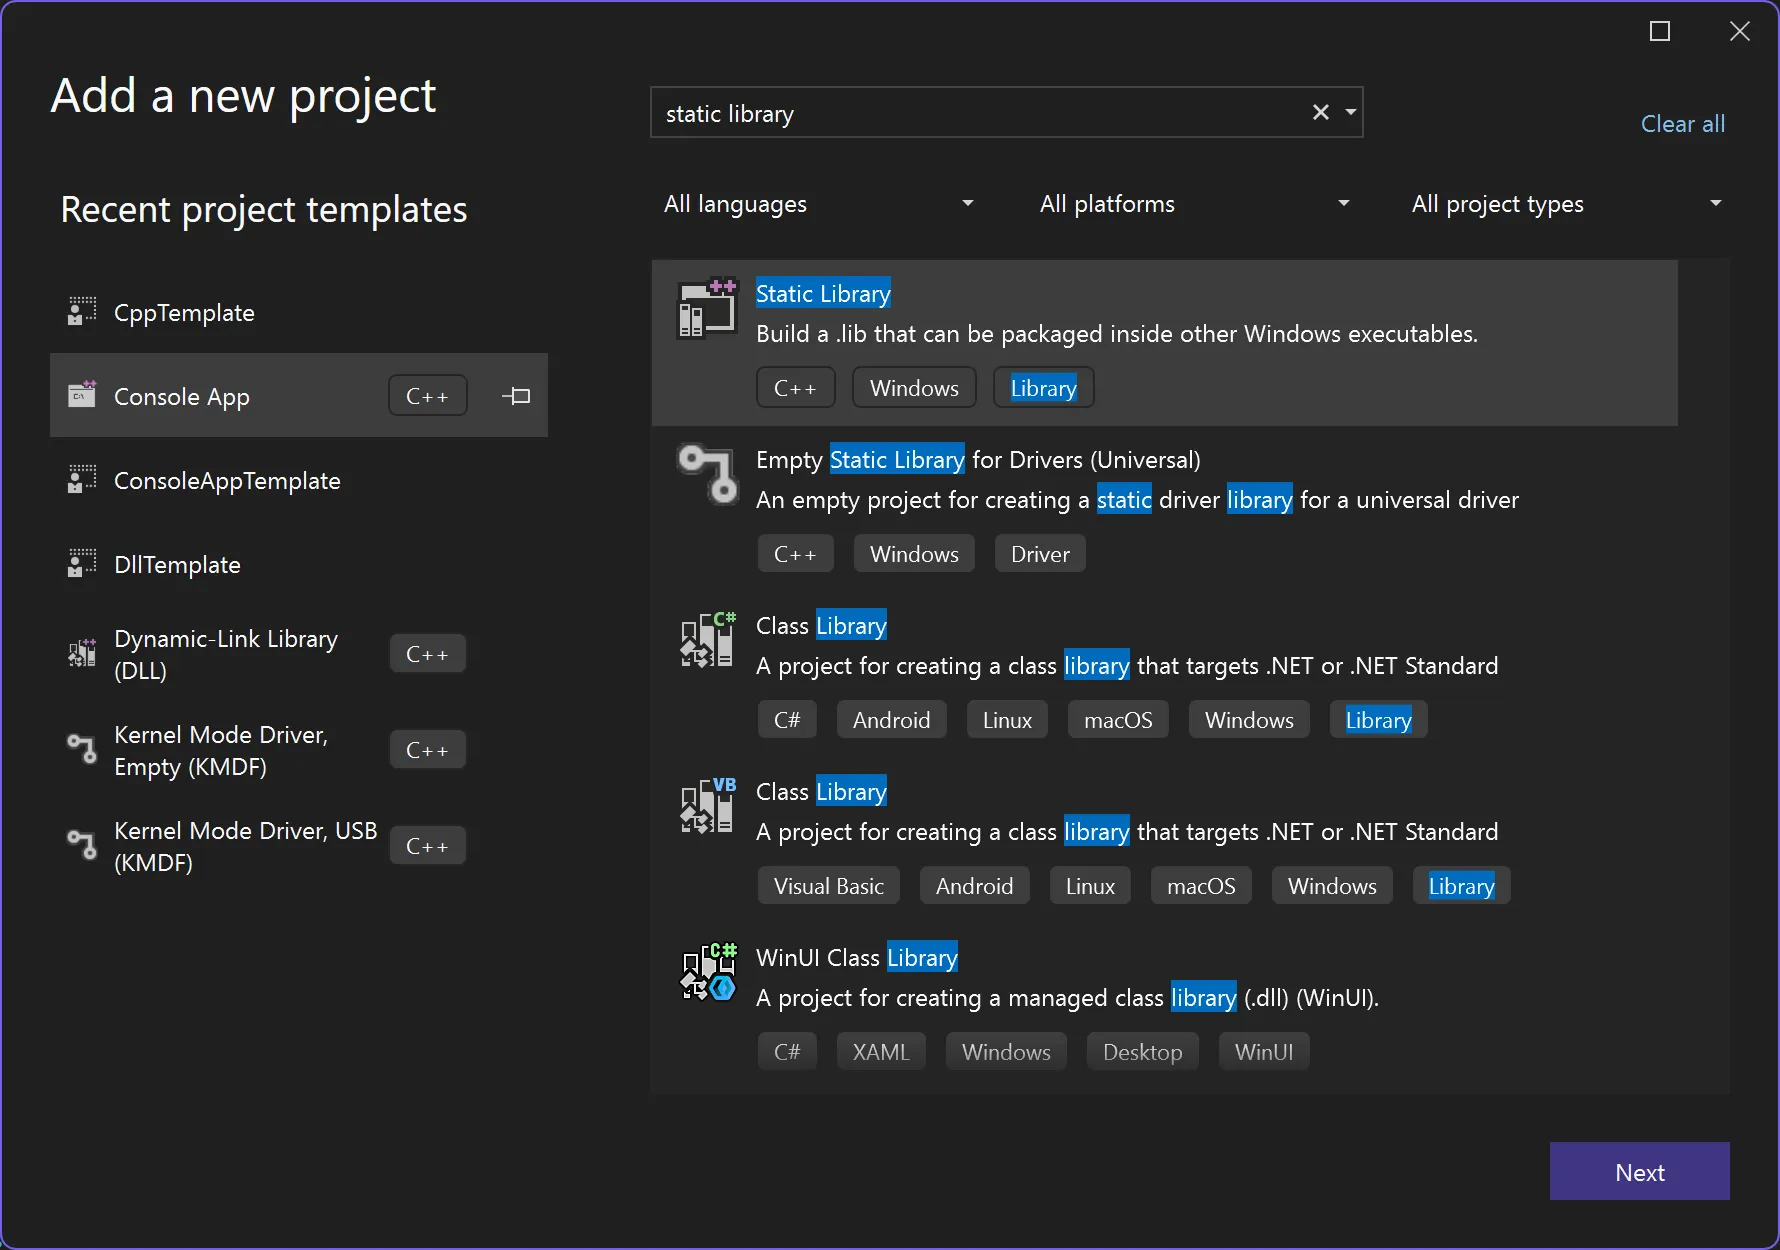
- Open Visual Studio > New Project
- Search and Select
Static Library - Click
Nextto create a new Static Library project
- Name the template and enter the folder where you would like to store the template project.
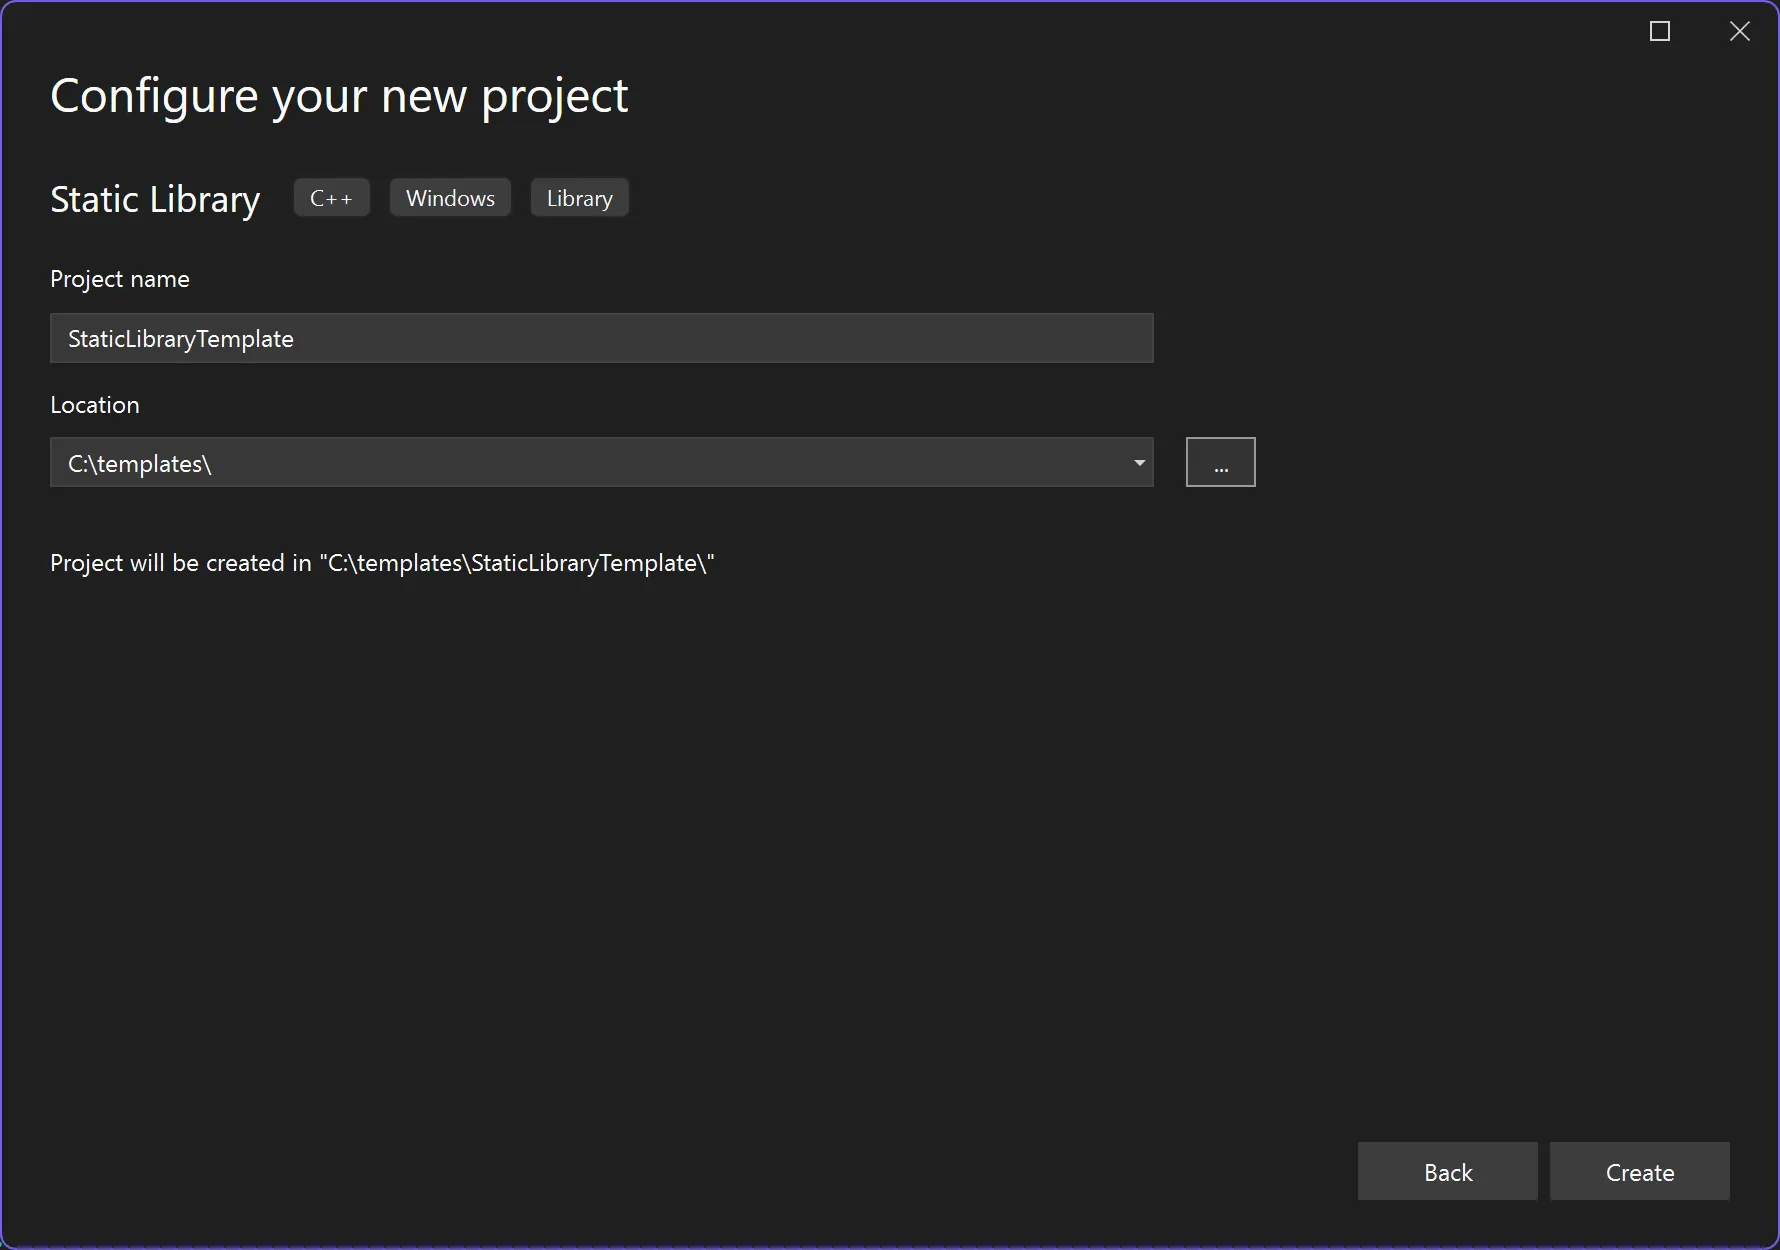
- Click
Createto create the Visual Studio project.
Below is an image of the default static library configuration.
Adjust Default Settings
There are a few default settings we will be removing/altering to cleanup our base static library template, this includes:
- Update Output and Intermediate Directory Paths
- Remove Precompiled Header and Other Files
- Update Project Settings
Update Output and Intermediate Directory Paths
By default, when Visual Studio builds your programs, the x64|x86 directories are created separately and placed next to the project settings files. Once you expand your project to include multiple static libraries, etc., the generated files are scattered all throughout your repository. I prefer to alter two project settings (Output Directory, Intermediate Directory) placing all generated build files into the same path for easy use and cleanup.
-
Navigate to the Solution Explorer and right click
StaticLibraryTemplateproject. -
Click
properties -
Ensure
All Configurations and All Platformsare selected, if this is your preference. -
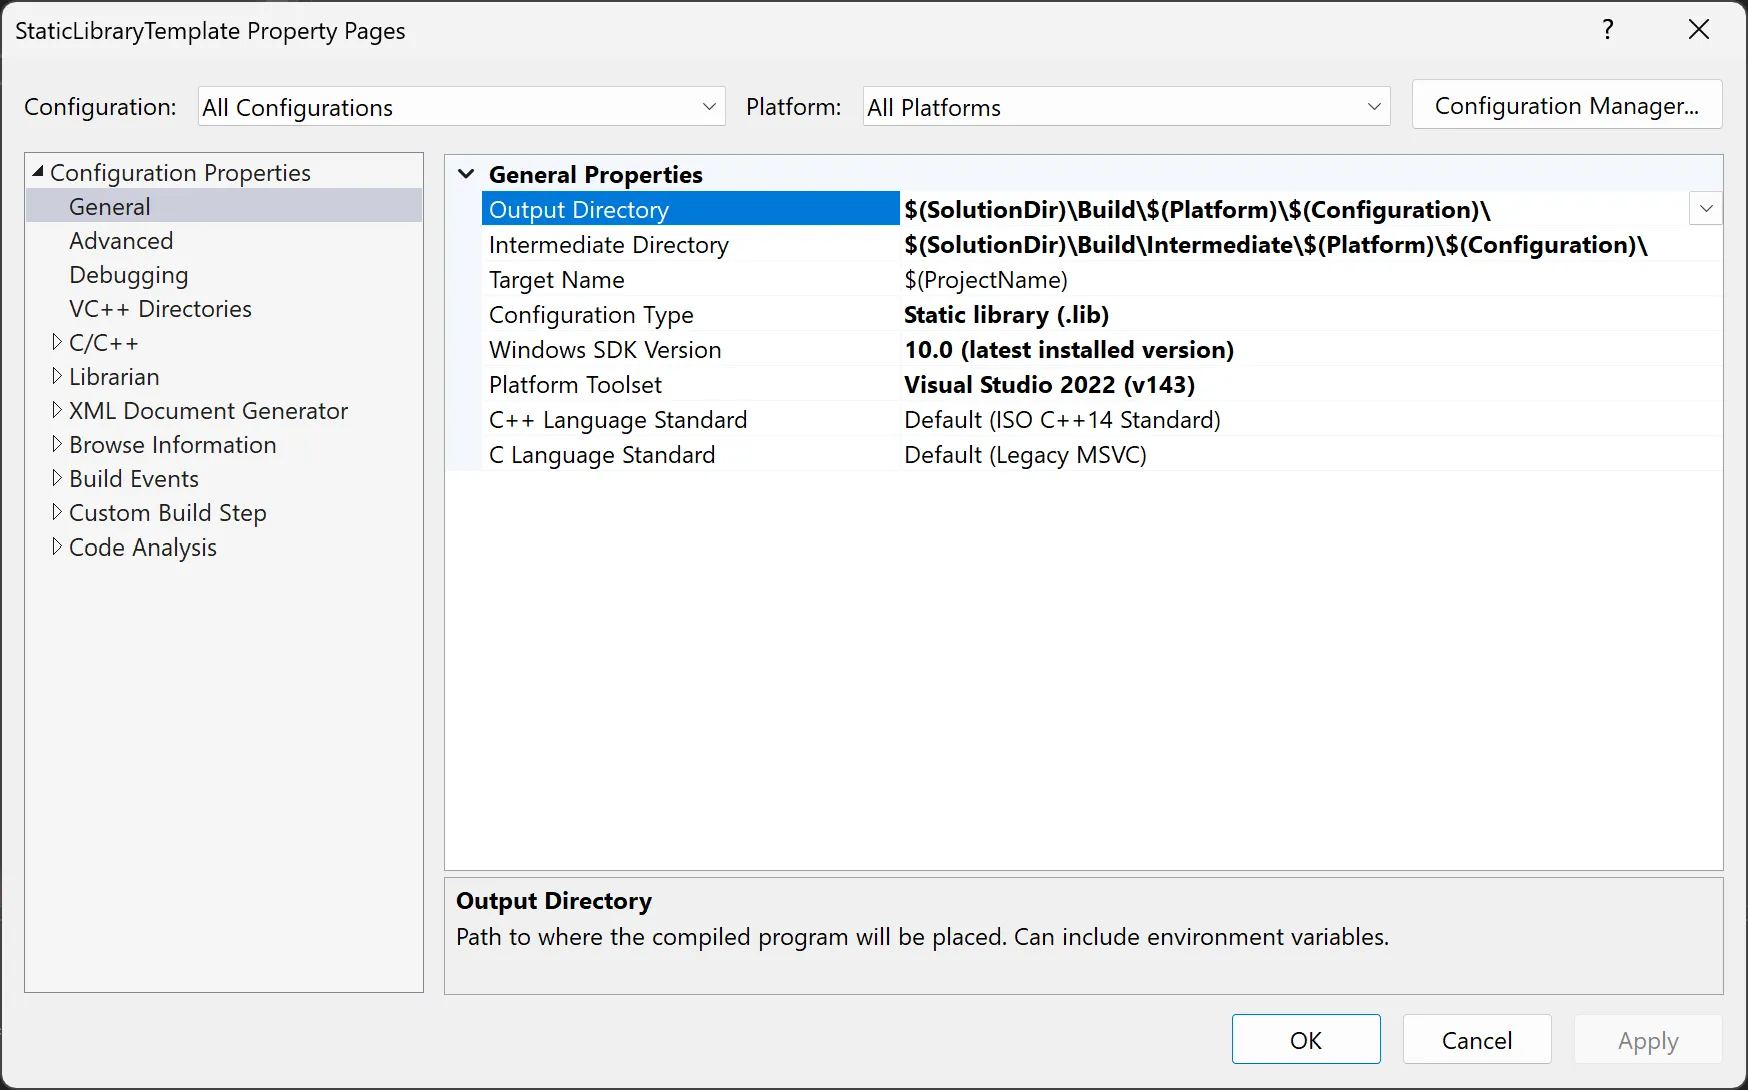
Update
Configuration Properties > General > Output Directoryto the following$(SolutionDir)\Build\$(Platform)\$(Configuration)\ -
Update
Configuration Properties > General > Intermediate Directoryto the following:$(SolutionDir)\Build\Intermediate\$(Platform)\$(Configuration)\
- Click
Applyand now you project will place all build artifacts in a single folder and subfolder for easy use later on.
Remove Precompiled Header and Other Files
The default static library template comes with the following files: framework.h, pch.h, pch.cpp and StaticLibraryTemplate.cpp. I configure my project for C program development and remove excess files.
-
Delete
pch.handpch.cpp.- Right click each file name, select
remove, thendelete.
- Right click each file name, select
-
Rename
framework.htoStaticLibraryTemplate.h- Update the contents of
StaticLibraryTemplate.hto the following:
#pragma once #define WIN32_LEAN_AND_MEAN #include <Windows.h> /* end of file */ - Update the contents of
-
Rename
StaticLibraryTemplate.cpptoStaticLibraryTemplate.c- I replace the contents of
StaticLibraryTemplate.cto the following:
#include <Windows.h> #include "StaticLibraryTemplate.h" /* end of file */ - I replace the contents of
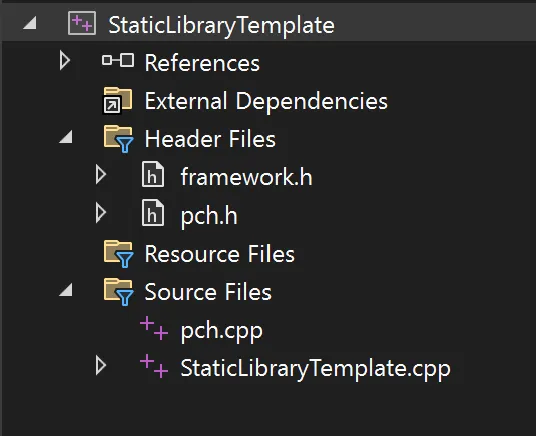
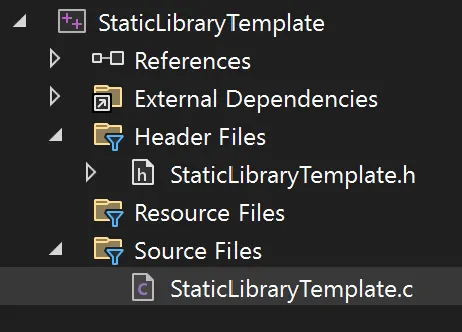
Your template project should now look like this:
Update Project Settings
Finally, we will step through the default project settings to harden our warning levels, add address sanitizer, make static linking our default, and remove excess functionality not needed for this template.
- Right click
StaticLibraryTemplateand selectProperties - Ensure
All ConfigurationsandAll Platformsare selected. - Harden Default Coding Standards
- Goto
Configuration Properties > C/C++ > General - Change
Warning Levelto4 - Change
Enable Address SanitizertoYes (/fsanitize=address) - Click
Apply
- Goto
- Adjust Precompiled Headers Settings
- Goto
Configuration Properties > C/C++ > Precompiled Headers - Change
Precompiled HeadertoNot Using Precompiled Headers - Remove
pch.hfrom thePrecompiled Header File - Click
Apply
- Goto
- Change Debug Build from Dynamic to Static Linking of CRT
- PLEASE NOTE I choose to statically link the CRT by default to test against various versions of Windows, if this does not matter to you, skip this step.
- Change
All ConfigurationstoDebug - Goto
Configuration Properties > C/C++ > Code Generation - Change
Runtime LibraryfromMulti-threaded Debug DLL (/MDd)toMulti-threaded Debug (/MTd) - Click
Apply - This will statically link CRT during Debug builds of this static library by default.
- Change Release Build from Dynamic to Static Linking of CRT
- PLEASE NOTE I choose to statically link the CRT by default to test against various versions of Windows, if this does not matter to you, skip this step.
- Change
All ConfigurationstoRelease - Goto
Configuration Properties > C/C++ > Code Generation - Change
Runtime LibraryfromMulti-threaded DLL (/MD)toMulti-threaded (/MT) - Click
Apply - This will statically link CRT during Release builds of this static library by default.
- Perform a test build to ensure everything builds without warnings/errors.
Export as Visual Studio Template
Once you are content with the updated static library project and you are ready to templatize, follow these steps:
- On the top VS tool bar select
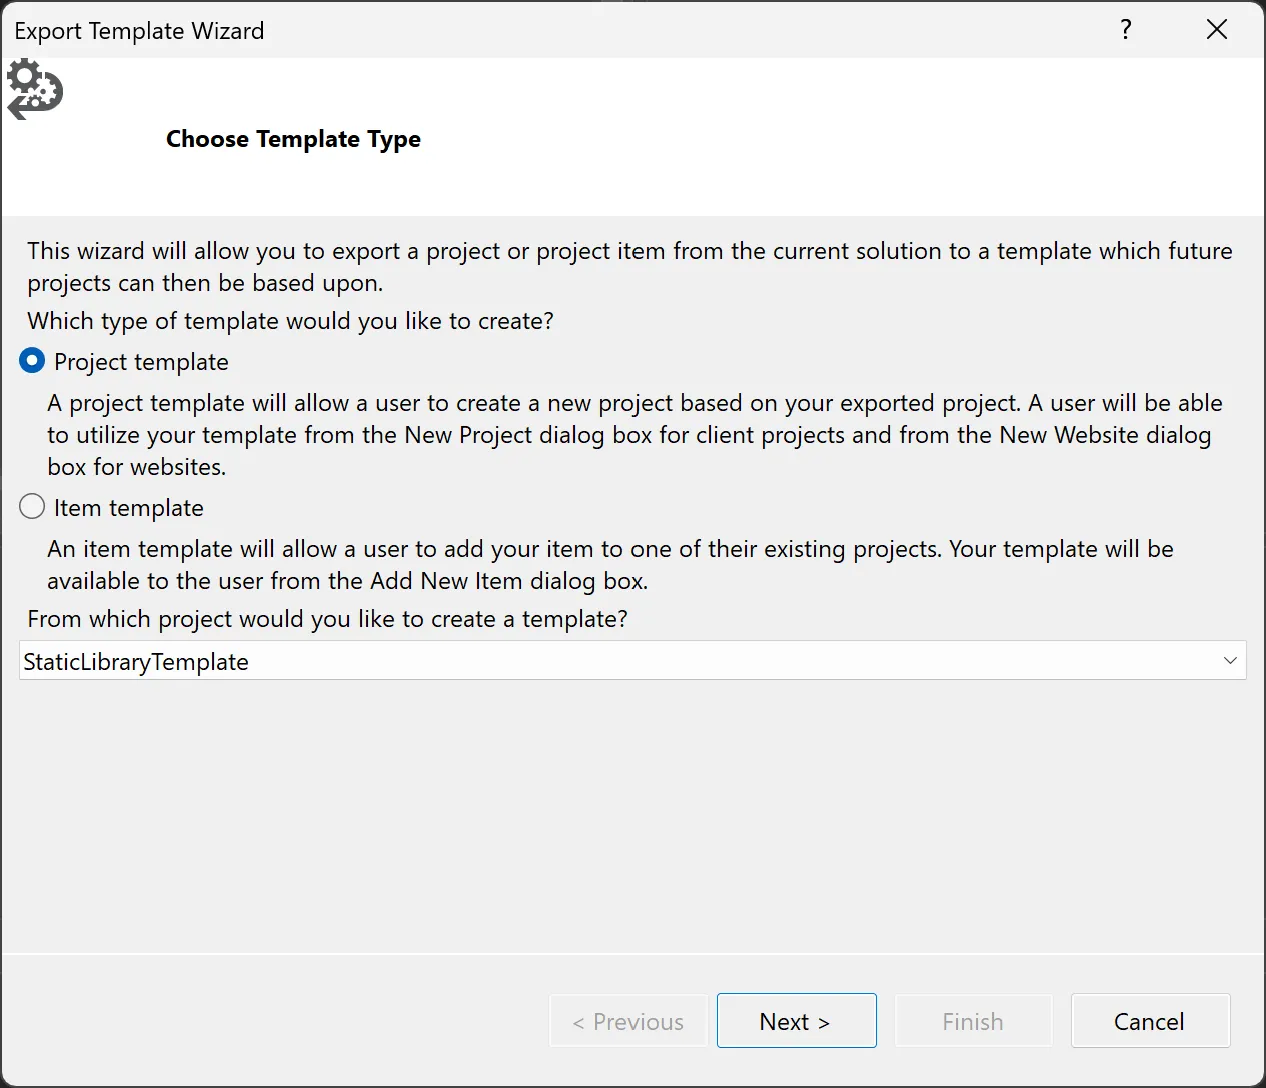
Project > Export Template - Select
Project Templateand ensure the correct project is selected, then selectNext.
- Select
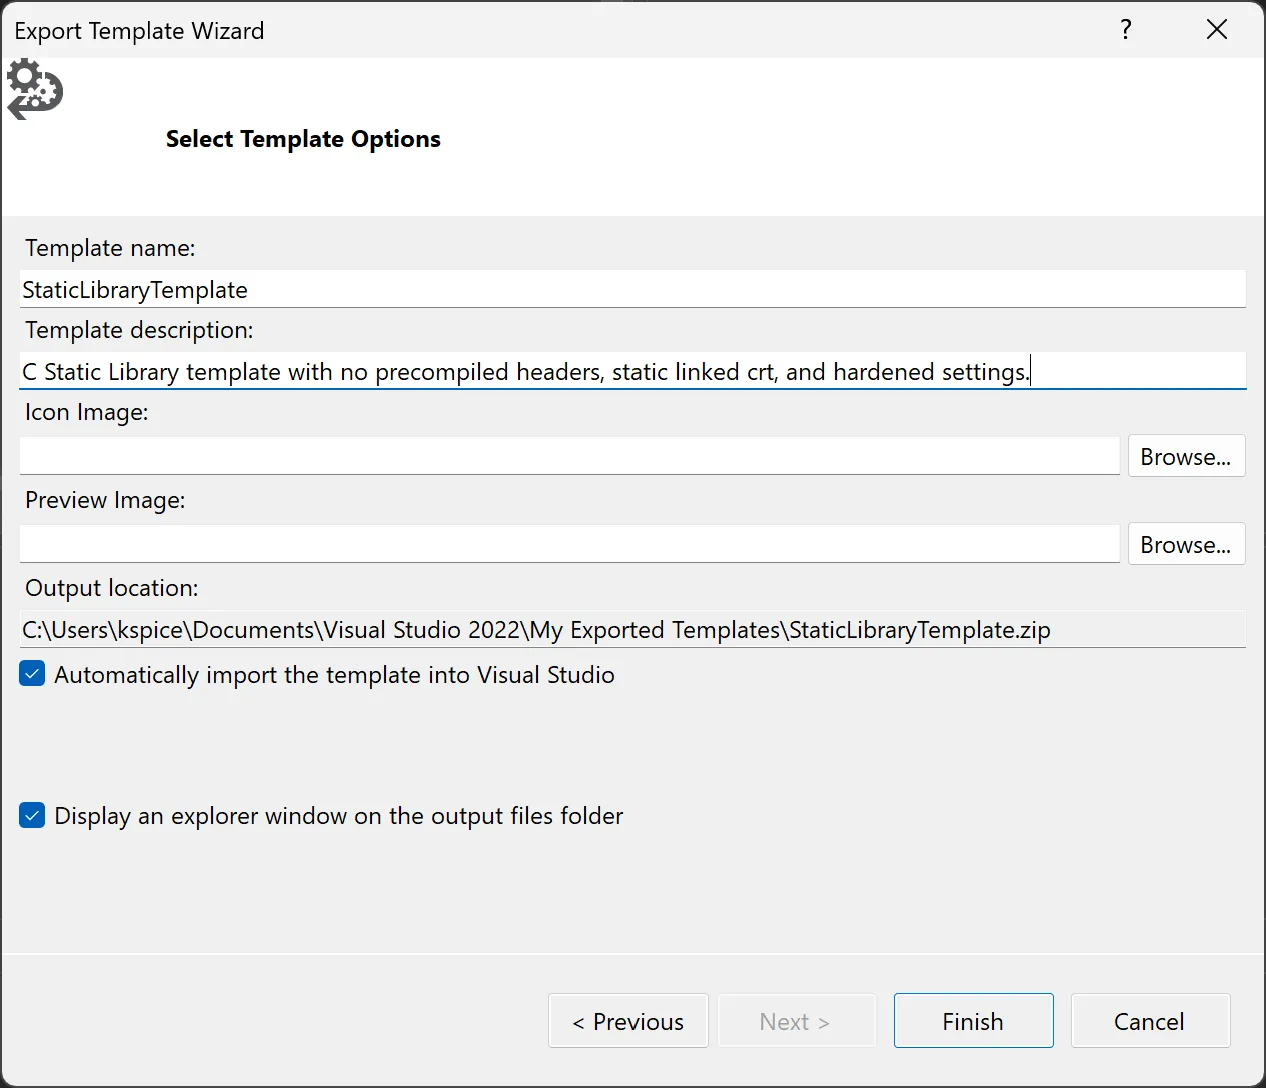
Project Templateand ensure your static library template is selected. - Personalize settings and select
Finishto create your template.
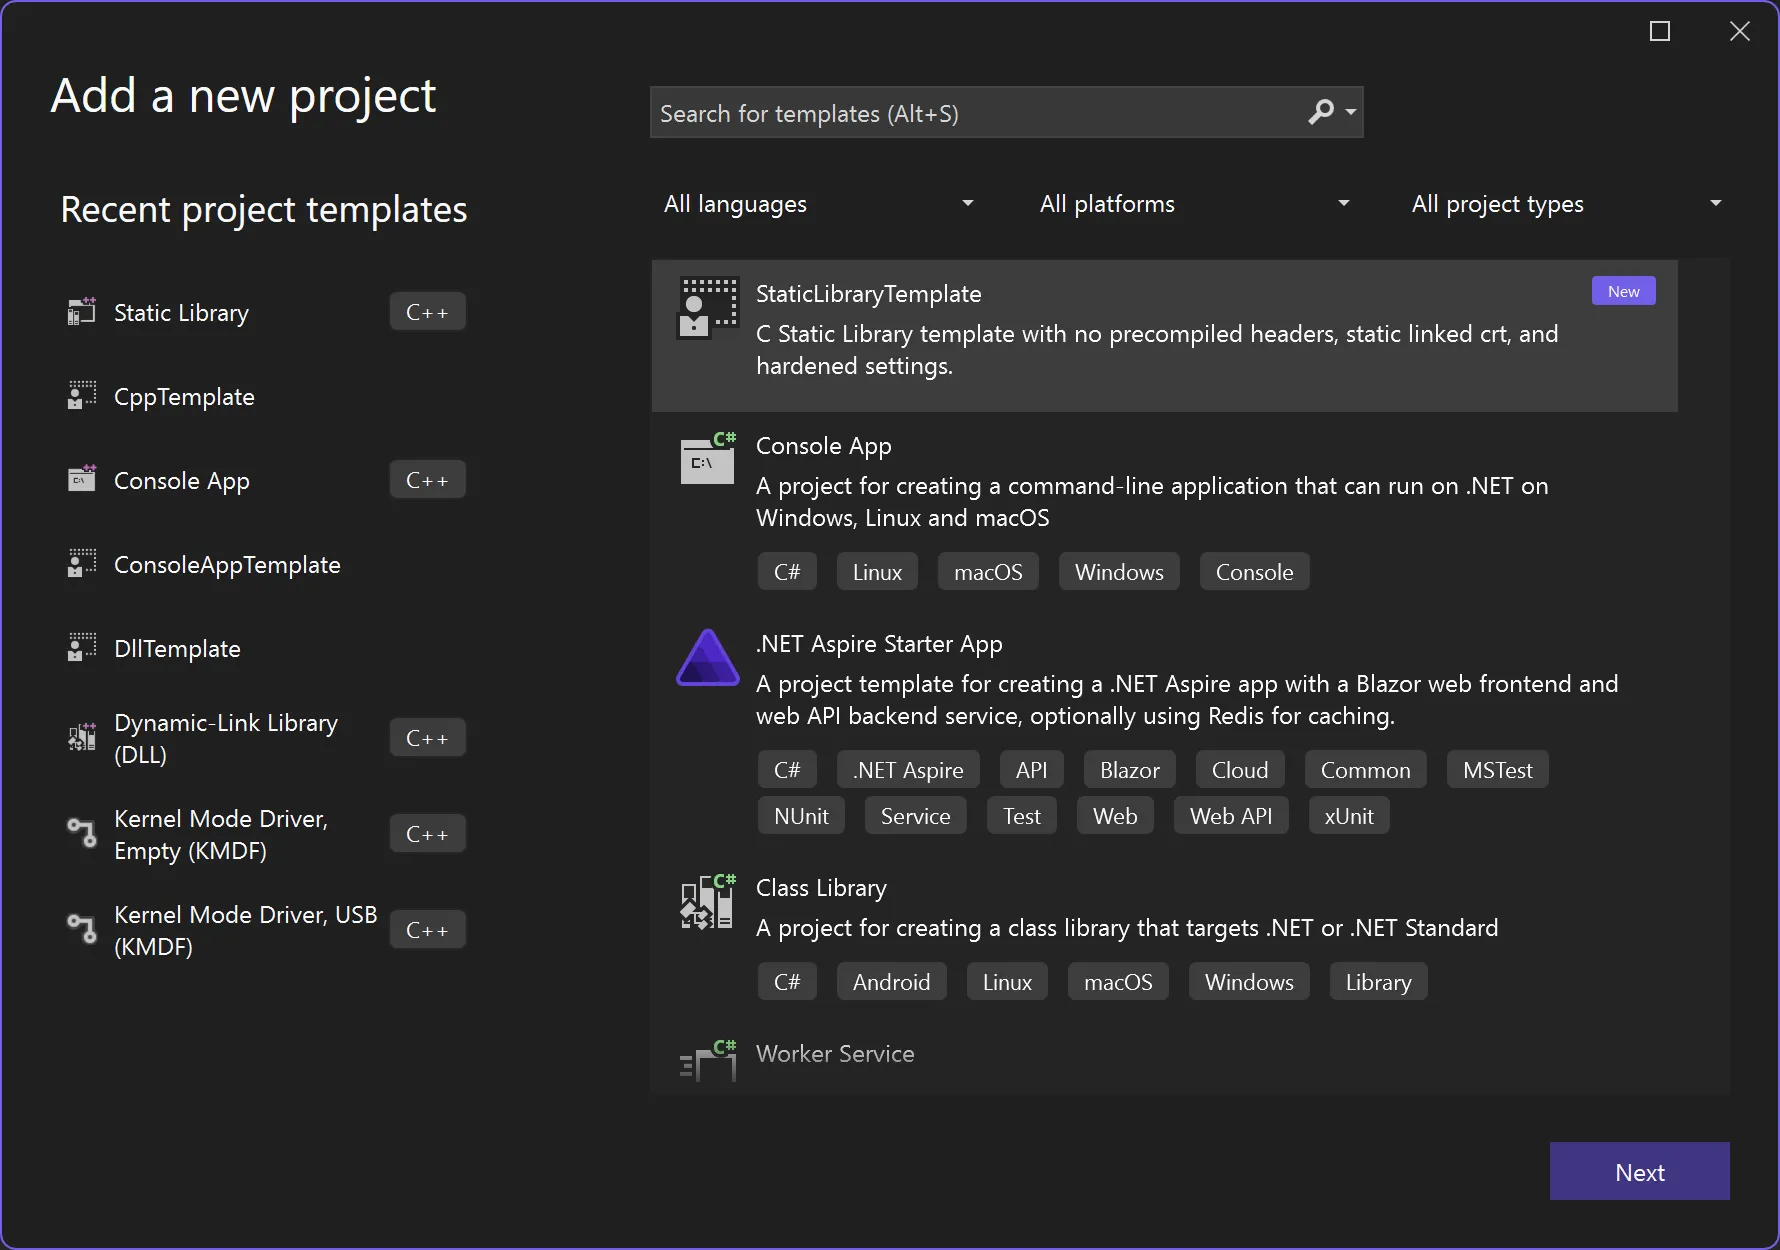
- Once exported, you will be able to create new static libraries from your template with your exact custom settings.
Download the exact template
If you’d like to use the exact templates from this series, you can download them from my GitLab repository: