Visual Studio Template from Configured Dynamic Link Library
Date Created: 05-09-2026
Overview
The purpose of this writeup is to document how I configure a Visual Studio Dynamic Link Library project and generate a reusable template for future projects. This tutorial covers creating a Dynamic Link Library project, adjusting default settings for better workflow, test-building the project, and exporting it as a Visual Studio template for repeat use.
Please Note: I create all of my Visual Studio templates for C language development.
Table of Contents
- Create a New Dynamic Link Library Project
- Adjust Default Settings
- Export as Visual Studio Template
- Download the exact template
Create a New Dynamic Link Library Project
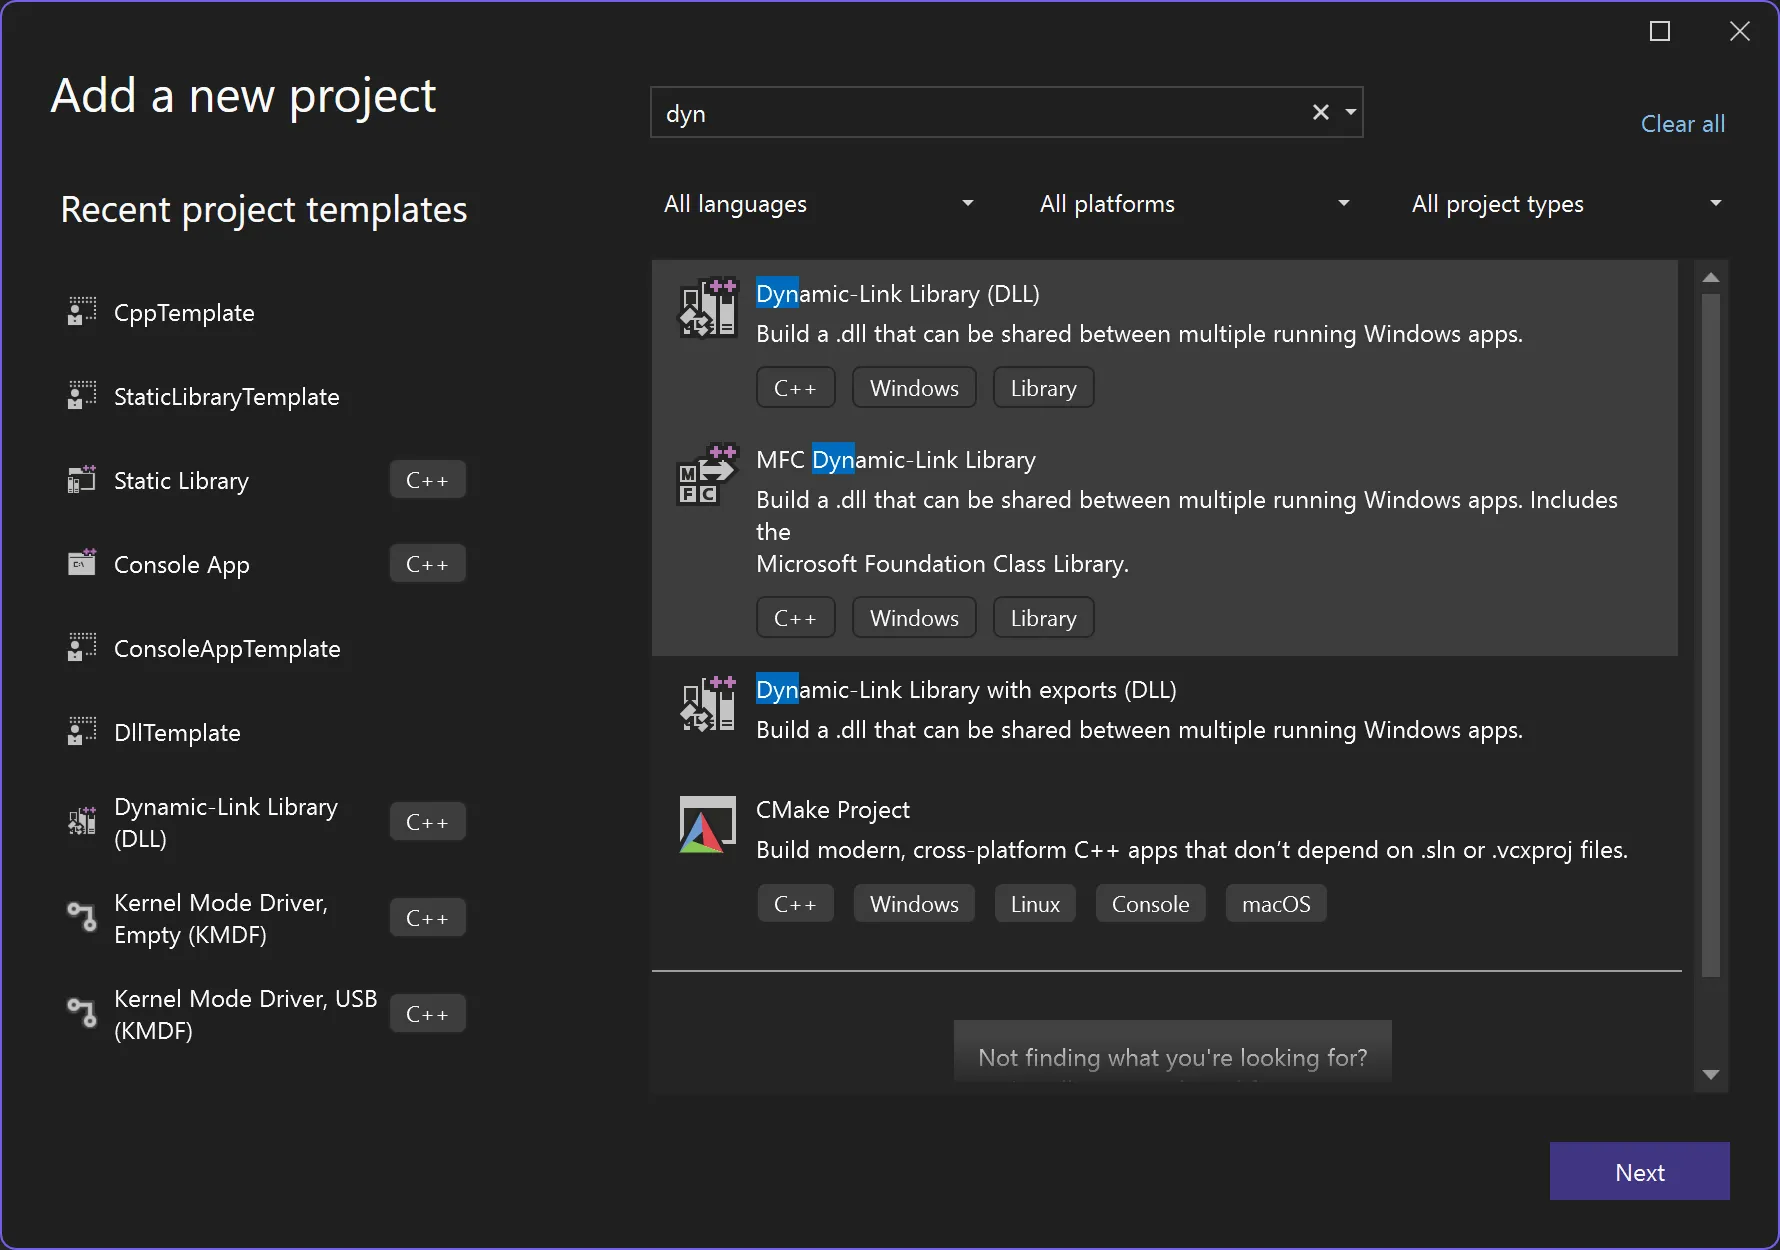
- Open Visual Studio and create a new project.
- Search for and select
Dynamic-Link Library (DLL). - Click
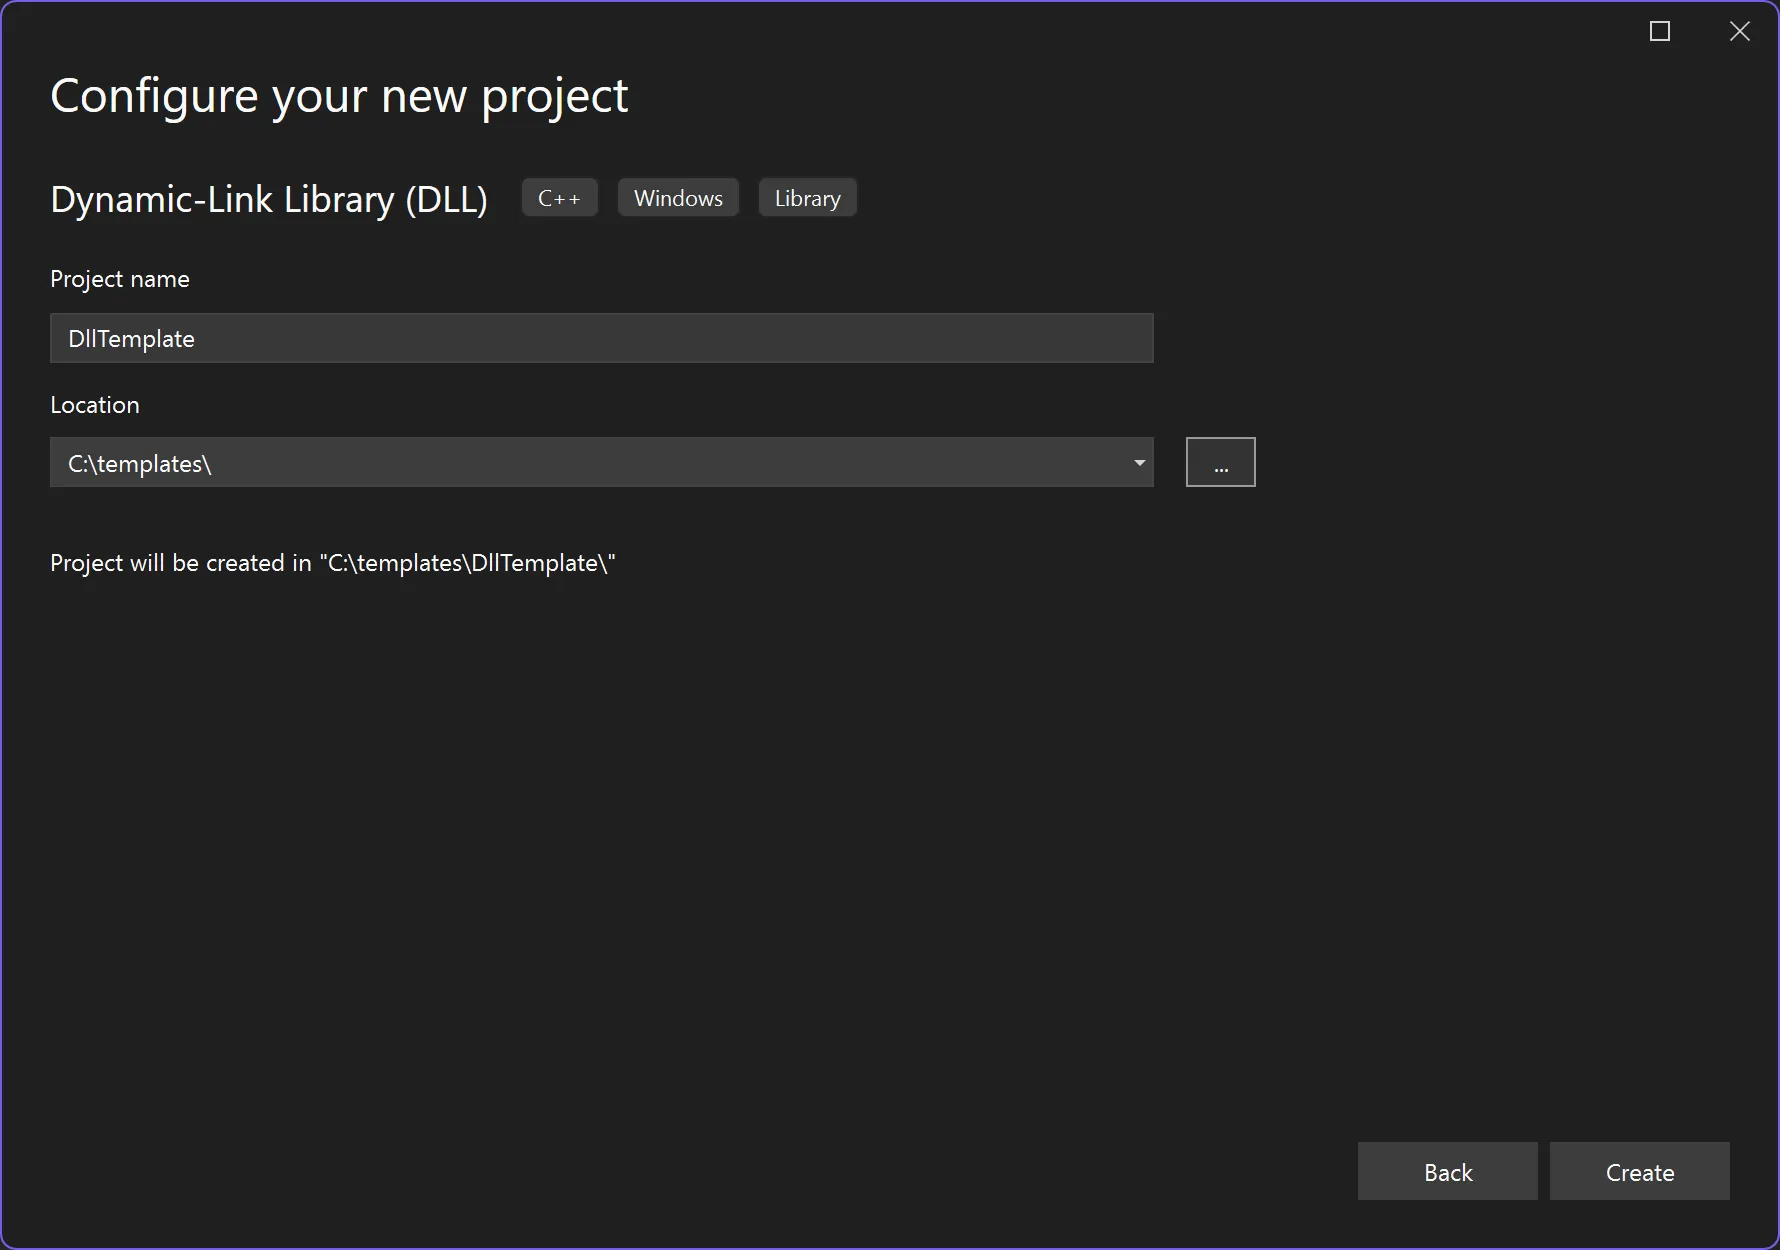
Next, configure the project name/path, then clickCreate.
Adjust Default Settings
Update Output and Intermediate Directory Paths
By default, Visual Studio places build artifacts in directories beside project files. I prefer centralizing generated files under a Build path for easier cleanup and consistency across projects.
- Right click the DLL project in Solution Explorer and select
Properties. - Ensure
All ConfigurationsandAll Platformsare selected. - Update
Configuration Properties > General > Output Directoryto:
$(SolutionDir)\Build\$(Platform)\$(Configuration)\- Update
Configuration Properties > General > Intermediate Directoryto:
$(SolutionDir)\Build\Intermediate\$(Platform)\$(Configuration)\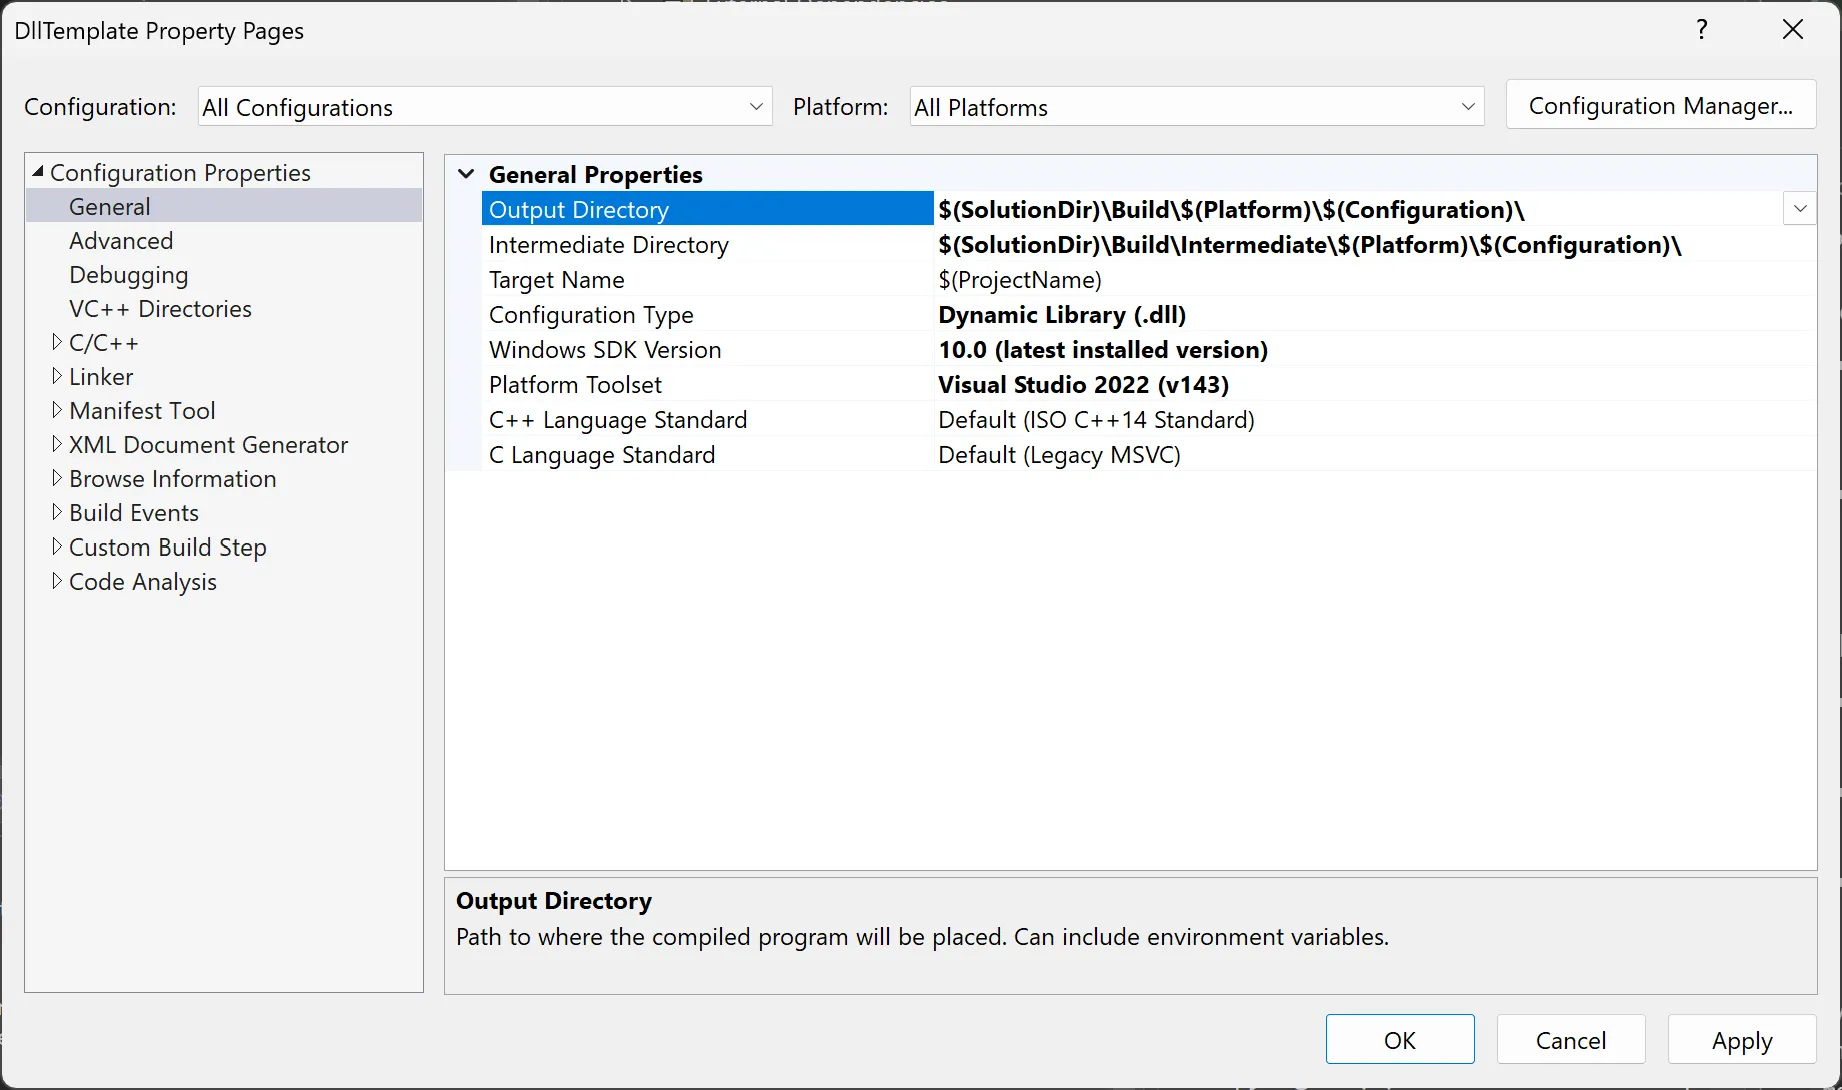
Update Project Settings
- Code hardening — C/C++ General
- In project
Properties, go toConfiguration Properties > C/C++ > General. - Set
Warning LeveltoLevel 4 (/W4). - Set
Enable Address SanitizertoYes (/fsanitize=address)if it aligns with your environment and toolchain.
- In project
- Precompiled headers
- Go to
Configuration Properties > C/C++ > Precompiled Headers. - Set
Precompiled HeadertoNot Using Precompiled Headers. - Clear
Precompiled Header Fileif it still referencespch.h, then clickApply.
- Go to
- CRT static linking (Debug)
- PLEASE NOTE: I statically link the CRT by default for testing across Windows versions; skip if you prefer dynamic CRT (
/MDd).
- Set the configuration dropdown to
Debugand platform to what you support (for exampleAll Platforms). - Go to
Configuration Properties > C/C++ > Code Generation. - Set
Runtime LibrarytoMulti-threaded Debug (/MTd). - Click
Apply.
- PLEASE NOTE: I statically link the CRT by default for testing across Windows versions; skip if you prefer dynamic CRT (
- CRT static linking (Release)
- PLEASE NOTE: Same as Debug; skip if you prefer
/MD.
- Set the configuration dropdown to
Release. - Go to
Configuration Properties > C/C++ > Code Generation. - Set
Runtime LibrarytoMulti-threaded (/MT). - Click
Apply.
- PLEASE NOTE: Same as Debug; skip if you prefer
- No PDB output for Release (optional)
- PLEASE NOTE: Turning off linker debug info means Release binaries won’t ship with PDBs — useful only if that matches how you distribute DLLs.
- Set the configuration dropdown to
Release. - Go to
Configuration Properties > Linker > Debugging. - Set
Generate Debug InfotoNo. - Click
Apply.
Remove Precompiled Headers and Extras
- Remove and Delete default files:
pch.h, pch.cpp, and framework.h - Change
dllmain.cpptodllmain.c - Paste the following source code into
dllmain.c
#include <Windows.h>

BOOL APIENTRY DllMain( HMODULE hModule,
                       DWORD  ul_reason_for_call,
                       LPVOID lpReserved
                     )
{
    UNREFERENCED_PARAMETER(lpReserved);
    UNREFERENCED_PARAMETER(hModule);

    switch (ul_reason_for_call)
    {
    case DLL_PROCESS_ATTACH:
    case DLL_THREAD_ATTACH:
    case DLL_THREAD_DETACH:
    case DLL_PROCESS_DETACH:
        break;
    }
    return TRUE;
}

/* end of file */
Run a test build for Debug and Release (and each platform you care about) so the project builds without warnings or errors before you export the template.
Export as Visual Studio Template
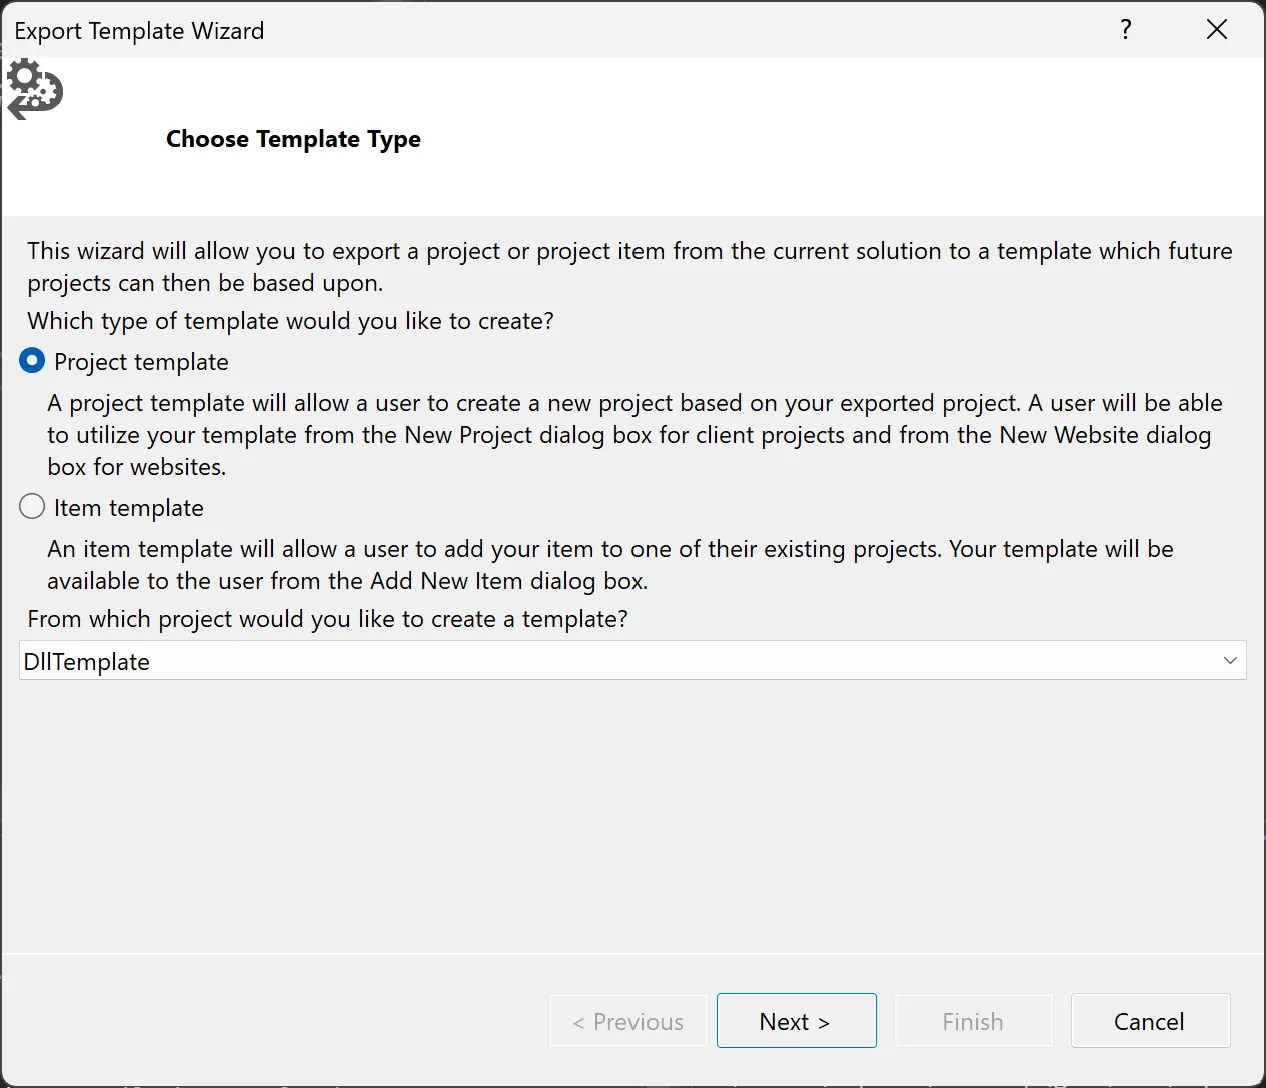
- From the top menu, select
Project > Export Template. - Select
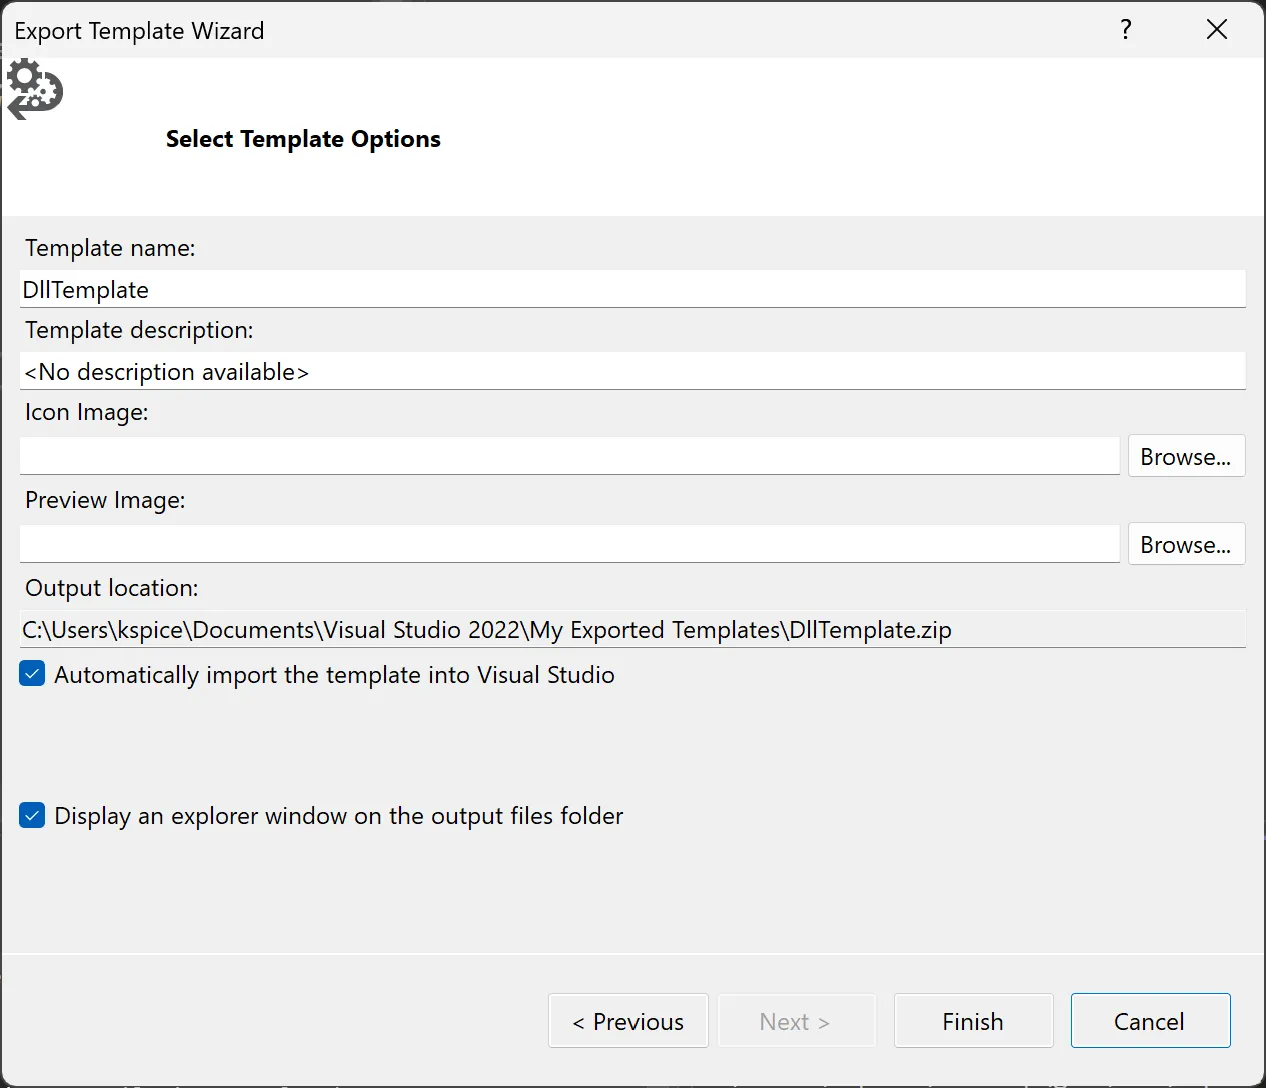
Project Template, ensure the DLL project is selected, then clickNext. - Add template metadata and click
Finish.
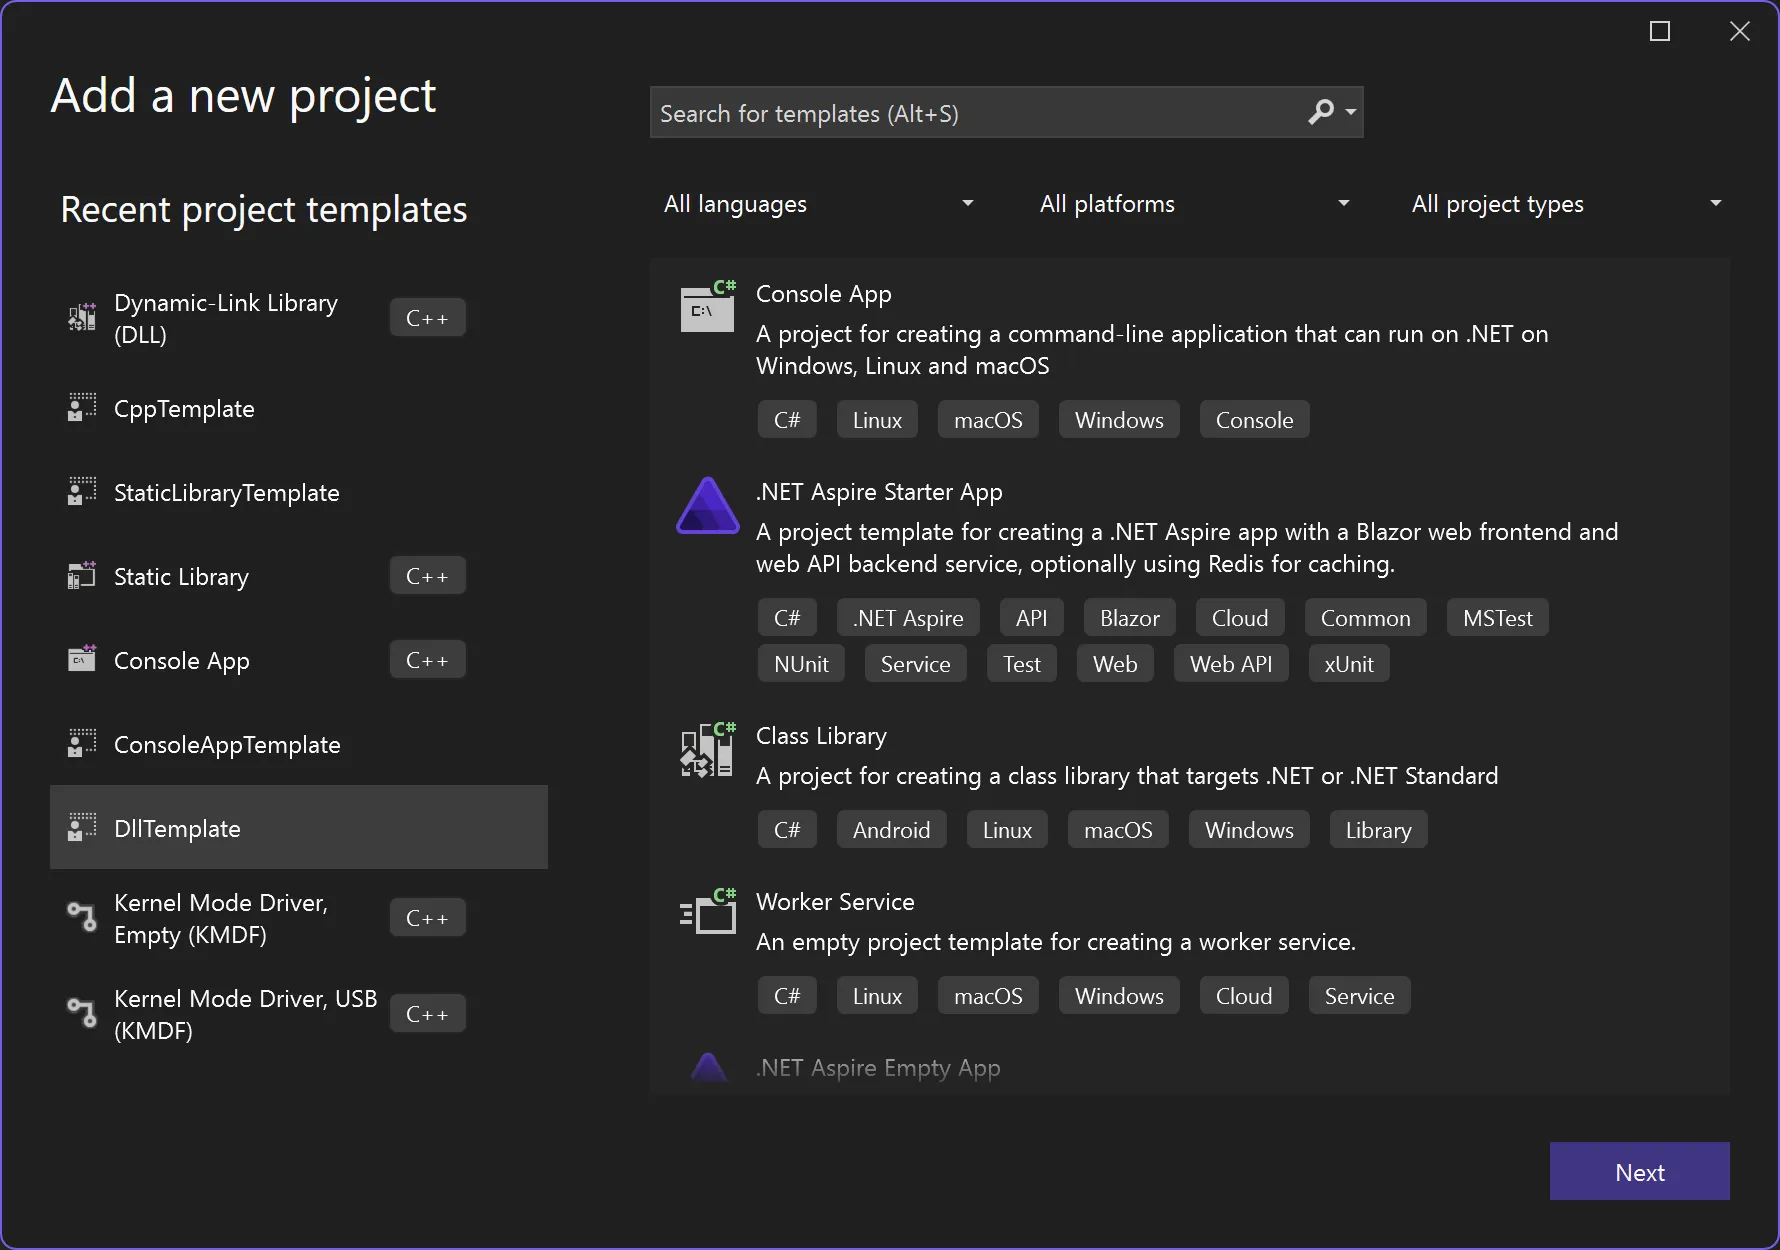
- After exporting, the template is available when creating new projects.
Download the exact template
If you would like to use the exact templates from this series, you can download them from my GitLab repository: Download here